

All About Windows Automatic Maintenance
This is a tip for Windows 10 and Windows 11
Windows 10 and 11 have an Automatic Maintenance feature that runs in the background when your computer is idle. This feature helps maintain your PC’s health and performance.
It automates tasks such as disk optimization and defragmentation, updating Windows apps, running security scans, and performing other necessary maintenance routines.
Automatic maintenance is set up on all Windows 10 and Windows 11 computers and it’s scheduled to run at 2:00 AM every day. You can change the scheduled time to any time you choose.
If your computer is turned off, Automatic Maintenance won’t run until your computer is awake and running but idle. If your computer is asleep, Automatic maintenance won’t run until your computer is awake and idle. But you can change its settings to allow Automatic Maintenance to wake your computer to run Automatic Maintenance. We think it’s a good idea to do so.
From the Automatic maintenance dialog, you can generate a reliability report and/or change the time Windows Automatic maintenance runs.
How to access the Automatic maintenance settings…
1. In the taskbar search, type “Control”
2. Click on Control Panel when it appears at the top.
3. In Control Panel switch to Large Icon view and click on Security & Maintenance.
4. Click on Maintenance (see screenshot below).

5. While in the Maintenance dialog, you can generate a reliability report by clicking on “View reliability history”. If you want to change the time that automatic maintenance runs, click on “Change maintenance settings”.
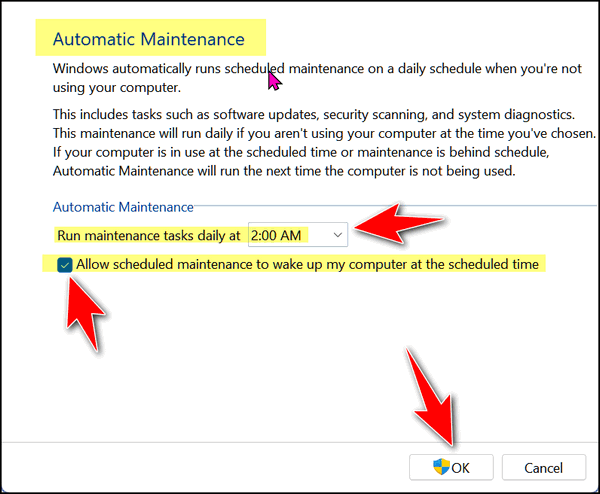
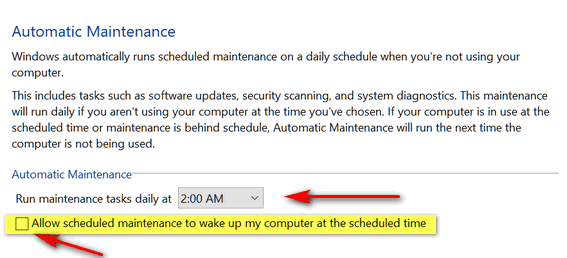
6. In Maintenance settings you can change the time at which Automatic maintenance runs. You can also set Automatic maintenance to wake your computer if your computer is asleep at the time. See the screenshot below.
If you normally put your computer to sleep when you’re not using it, allowing Automatic Maintenance to wake your computer to do its maintenance routines is a good idea.