How to Add Additional Time Zones to Your Windows Clock
This tip is for Windows 10 and Windows 11
Do you have friends or family living far, far away? Do you often find yourself trying to figure out what time it is where they live? For instance, what time is it in Bora Bora where Darcy is canoodling? Well, I could google “Time in Bora Bora” and find out…
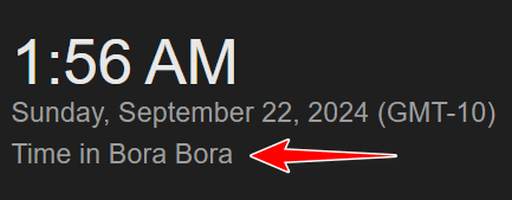
It’s 1:56 AM in Bora Bora. Darcy’s just about to stagger back to her bungalow after a night of heavy drinking and debauchery at the Bora Bora Saloon and Dance Hall.
Seriously now, what if you live in Grand Rapids, Michigan, and have family or friends living in Sydney, Australia, and others living in San Diego, California?
You don’t want to be googling the time all the time, do you? No, you don’t! And you don’t have to because Windows lets you add two time zones to your Windows Clock so you can see, at a glance, what time it is in any two places in the world (three places, counting your place 🙂 ).
Hey! It’s easy to do. Here’s how.
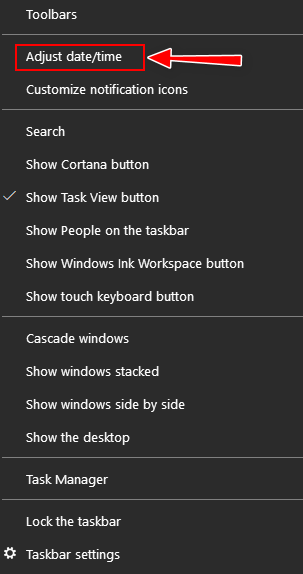
1.) Left-click on your Windows Clock and choose “Adjust date/time”
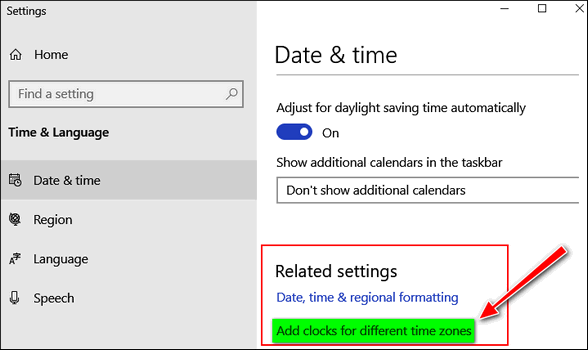
2.) In the Time & Language Settings dialog which opens, look to the far right under “Related settings” and click on “Add clocks for different time zones”
Or if you’re using Windows 11 you’ll see this…
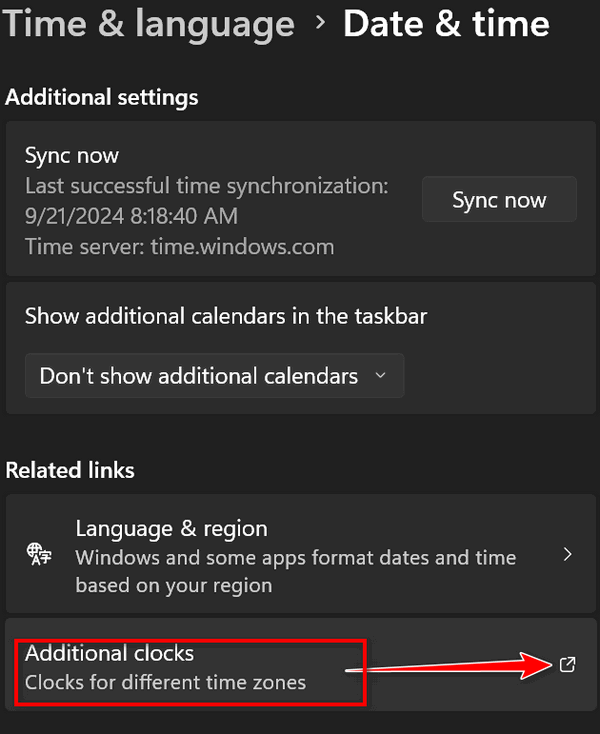
3.) You’ll see the Date and Time dialog. Click on Additional Clocks. You can add two clocks and set each for a different time zone. You can choose any time zone in the world. Tick the box next to “Show this clock”. Use the down arrow (circled) to select the first time zone you want to show on your Windows Clock & Calendar:
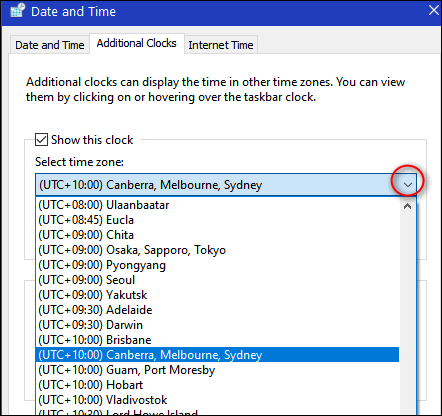
The first time zone I want is Sydney, Australia. See? (Look up!)
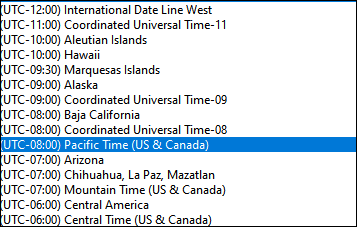
And the second time zone I want is USA Pacific time. (Look down!)
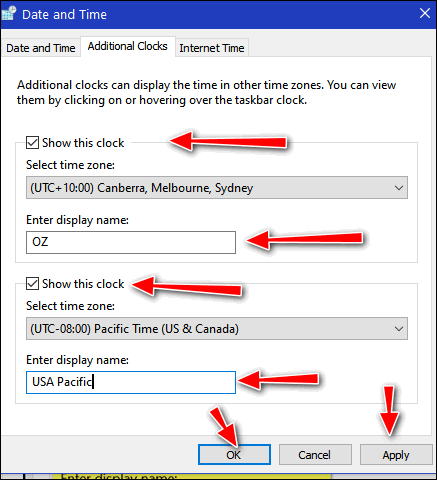
4. Now that I’ve selected the two “clocks” I want, I can give them whatever names I choose. Then I save my changes by clicking “Apply” and “OK”.
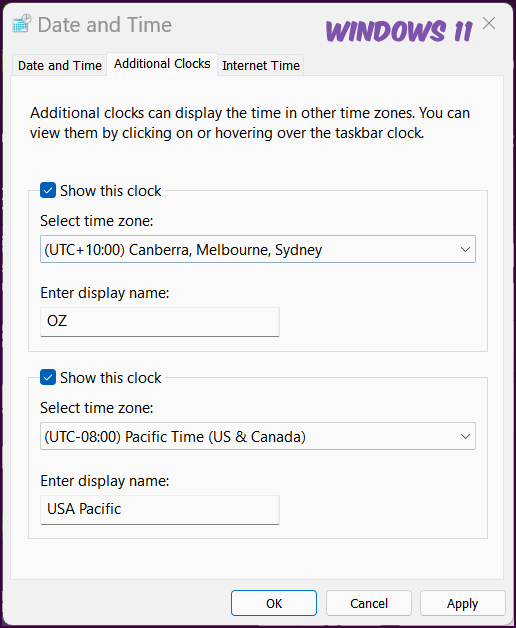
It’s the same in Windows 11, see?
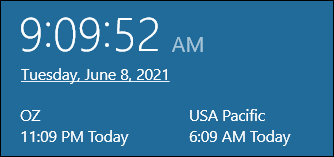
And now when I left-click on the Windows 10 clock, I see this:
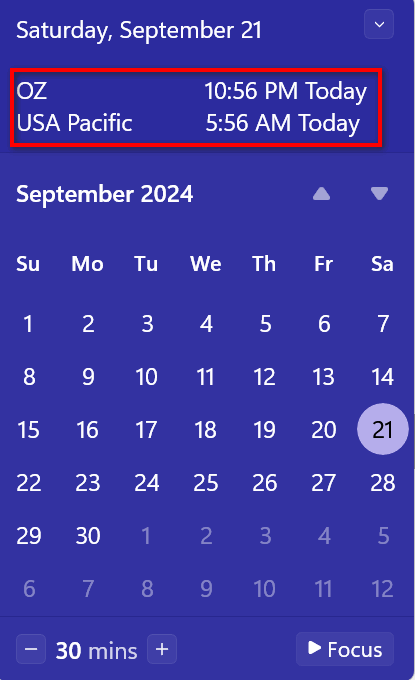
Here’s how it looks if you are using Windows 11:
And now you know how to add extra clocks to your Windows clock.
PS: We thank Cheryl for asking the question that led us to write this tip!

