How to Change Your Windows 10 Desktop Wallpaper Using Settings
We use a program called Irfanview as our default image viewer on Windows 10. It’s much faster than Windows Photo Viewer, it has nice editing and resizing options, it makes it a snap to make any suitable image your desktop wallpaper with just a click, and a lot more that we’re not going to cover here. If you want to learn more about Irfanview, check it out here.
Today, we are going to show you how to change your desktop wallpaper, using nothing else but Widnows 10 Settings. It’s easy enough to do.
Just open Settings (Windows Key + i) or click the Settings icon on your Start menu. In Settings, click on Personalization, then click “Background”.
In the Background dialog, under “Background” choose “Picture” (You can choose Slideshow also. but we don’t recommend that since this can be resource drainer.) We also recommend under “Choose a fit” you choose “Stretch” if you want the picture to cover your entire desktop.
Now, click on browse button and browse to the folder that contains the photo you want to use as your desktop background.
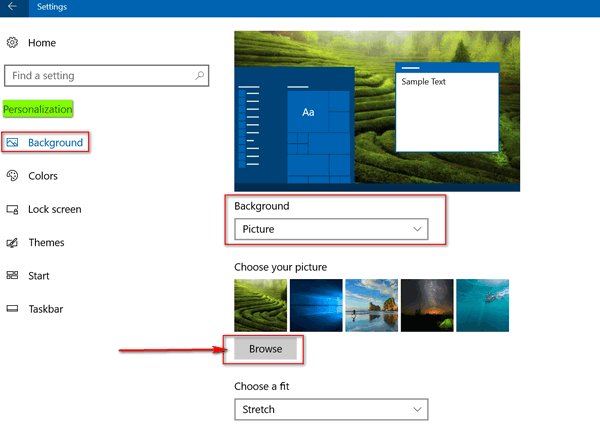
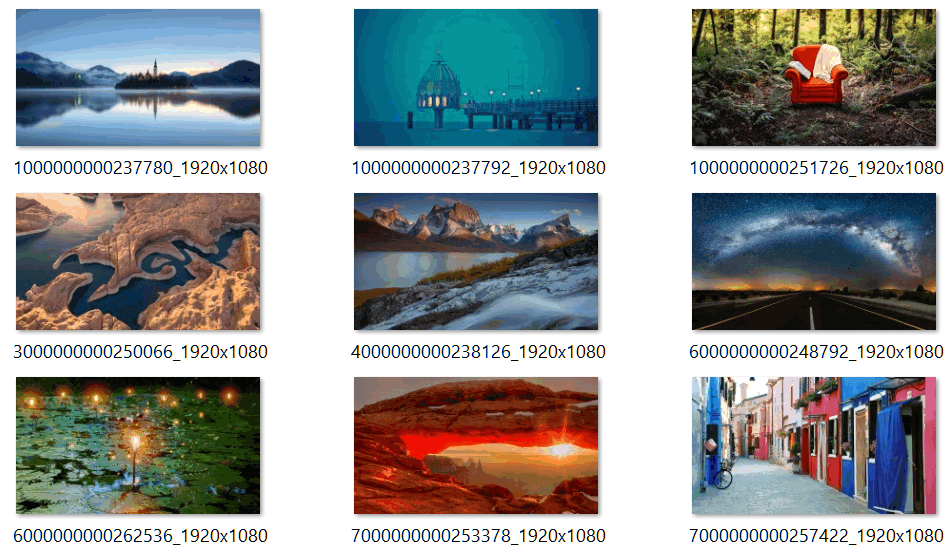
The folder containing the picture you want to use as your wallpaper will open.
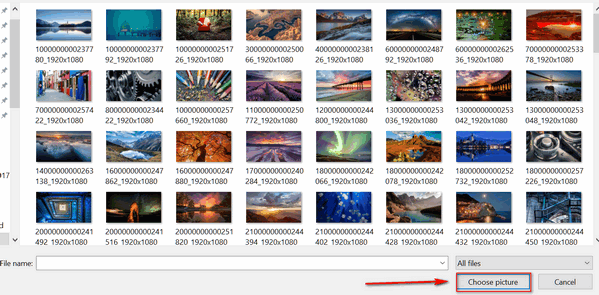
Click on the picture you want to use as your desktop wallpaper and click on “Choose picture”.
Here’s a hint: If you’re having trouble seeing the thumbnails, you can make them bigger just by holding down the CTRL key and scrolling the mouse wheel away from you. You can make the smaller again by scrolling the mouse wheel toward you while holding down the CTRL key.
After you click “Choose picture”, you’ll see a preview of the picture you chose appear in the Personalization dialog. You’ll also see how your current accent colors will look with your new wallpaper, my pretty blue looked not-so-hot with the orange-purple-brown shading of my wallpaper. In Personalization you can choose a different accent color… as I did.
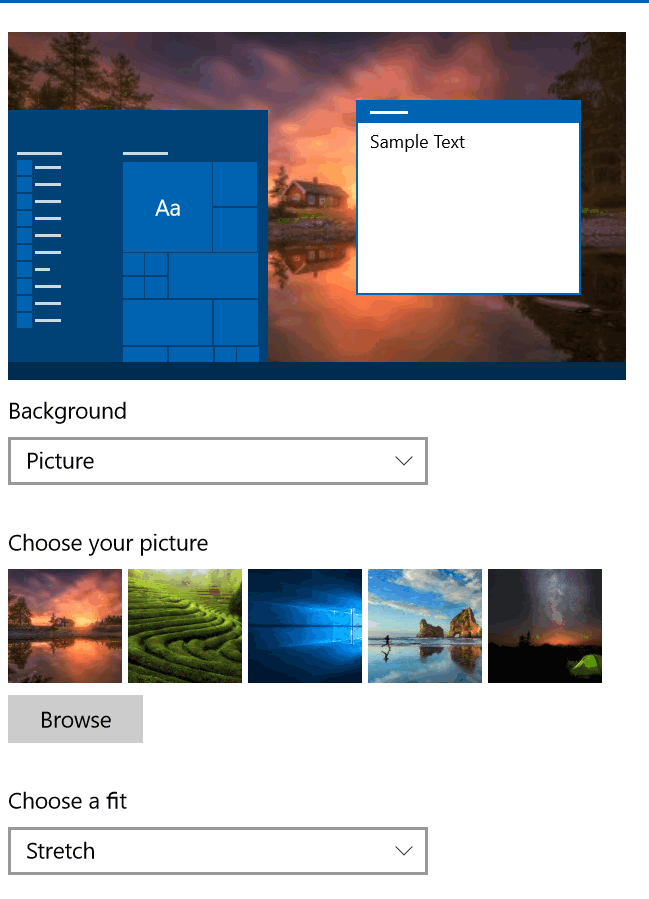
And here’s my new desktop wallpaper and my new accent color.
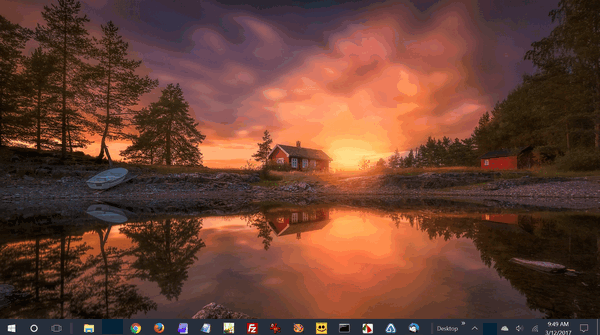
And that’s all there is to changing your desktop wallpaper in Windows 10, using an image from any folder, anywhere on your PC.


Is there a easy way to tag in Irfanview ? Sorry for being off subject. I wanted to try it but I was not sure about that.
I don’t don’t know what you mean by “tag”. Do you mean create/modify/delete meta data (meta tags)?
Sorry about that. I can tag a photo in XnViewMp and put that photo up under flowers ,or landscape, or what ever and pull that up under that category. That is what I’m trying to say 🙂 I think FastStone Image Viewer is the same way, I think. I just did not see how to do that in Irfanview so I can pull up certain pictures I’m looking for. Does it have that option and I’m missing it. I know Irfanview is very popular and has been around for a long time so you would think it would have that option.
Thank you for the above also. Tips always welcome.
I wouldn’t know. We organize our images by folders so I don’t know about “tagging”. I don’t think Irfanview has that feature, but I don’t know for sure. Maybe the developer would know.
It’s a lot easier to right-click on the Desktop and then click on Personalize to do this than to go through the multiple steps of using Windows Settings. We’ve been doing that for decades; nothing new.
It all goes to the same place. Windows key + I –>Personalizaton is only one click and they both your way and that way lead to the same place 😉 It all depends how much you lick using the mouse. With Windows there are almost always 2 or three ways to do anything. You can also use the control panel to change desktop wallpaper as well as a shortcut ms-settings:personalization
Isn’t it easier to just go to your “Pictures”, choose a picture, and Right Click and choose “Set as Background” . DONE!???
It would be if everyone’s computer were set up the same, but they’re not. I use Irfanview, I can open any picture and choose Set as background -but I can’t assume everyone uses an image viewer that works that way. If only everybody’s computers were the same- how much easier it would be!