How to Create an Administrator Command Prompt Shortcut
This tip works on Windows 8.1, Windows 10, and Windows 11
While Windows 10 tries to encourage you to use Widnows PowerShell and Windows 11 puts Windows Terminal front and center, most Windows users are more familiar and more comfortable with the good old Command Prompt. The Command Prompt is a powerful and handy tool for most Windows users. But many commands and functions require elevated privileges – i.e. running it as administrator.
This tutorial will show you how to create a Command Prompt desktop shortcut with administrator privileges… so all you have to do is click it to run any command even those which require you to run them as an administrator.
Let’s get started!
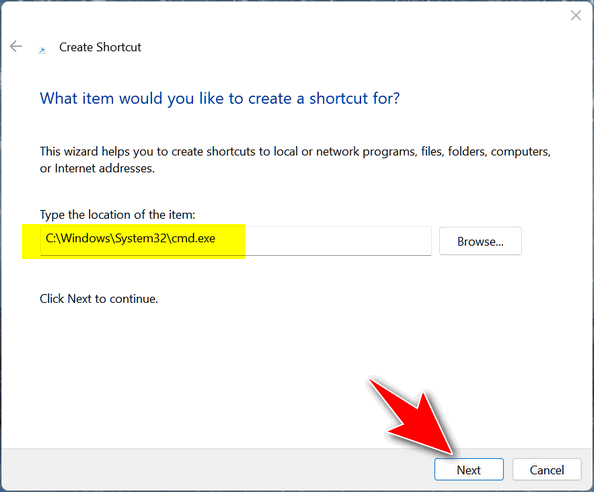
Right-click on an empty space on your desktop and click “New” > “Shortcut”. Under “Type the location of the item” enter the following:
C:\Windows\System32\cmd.exe
Then click “Next”…
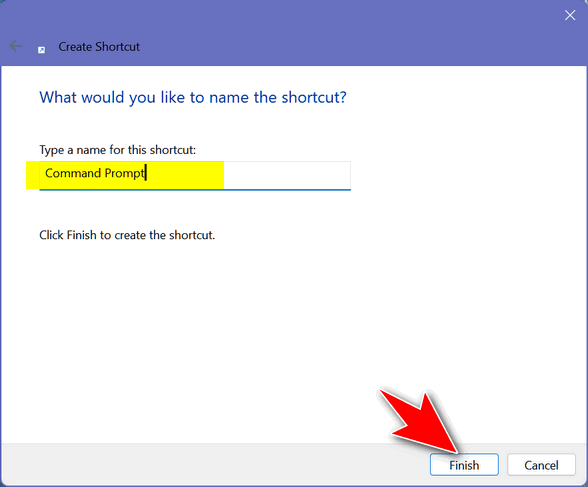
Give your shortcut a name… we suggest you name it Command Prompt.
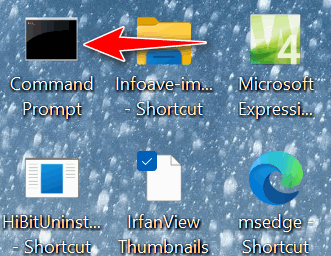
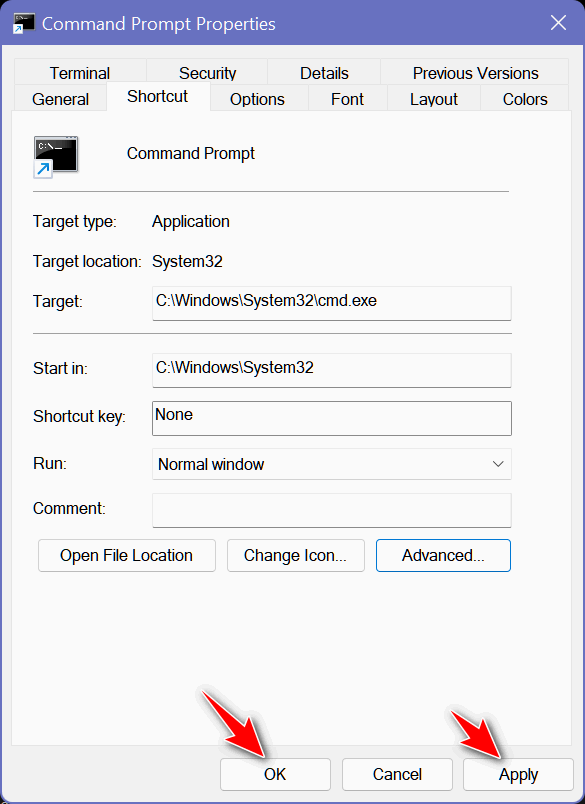
Right-click the shortcut now on your desktop and choose “Properties”.
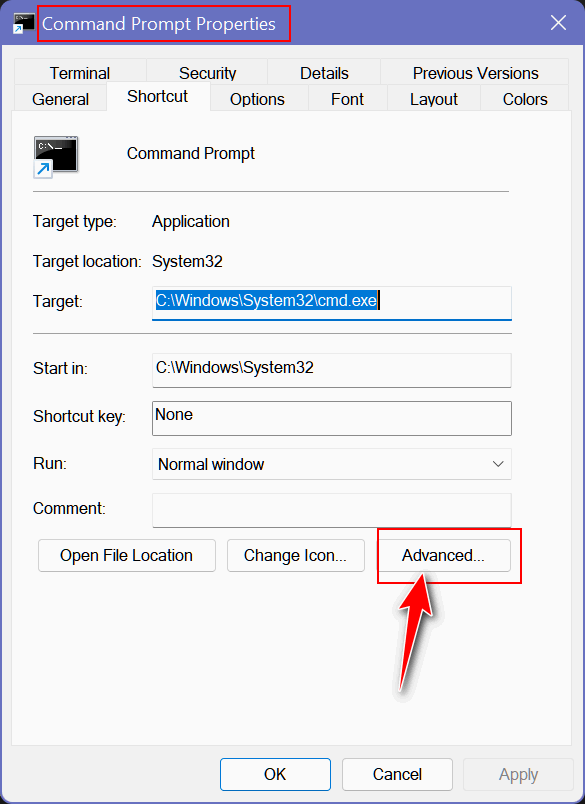
In the Command Prompt Properties dialog, click the Advanced tab.
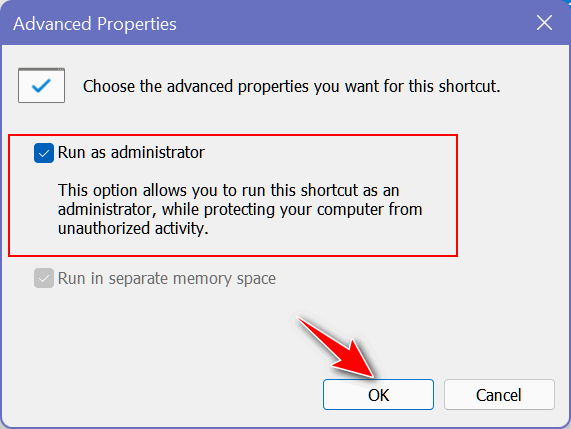
In the “Advanced Properties” dialog, tick the box next to “Run as administrator”. Then click “OK”.
Click “Apply”, “OK” in the Command Prompt Properties dialog and then close the dialog
Now you have a handy desktop shortcut that will open a Command Prompt with administrator privileges.
Want the new shortcut on your taskbar and/or Start menu. No problem! Just right-click your new shortcut and choose Pin to taskbar or Pin to Start.
Note to Windows 11 users.
When you right-click items (as above) you’ll need to choose “Show more options” in the right-click menu to get to “Properties” and “Pin to taskbar”, and “Pin to Start”.


Thanks for the great tip. Works like a charm.
Just what I needed. Thanks1