

How to Delete “Previous Windows Installation” Files After Upgrading to Windows 10
When you upgrade from Windows 7, or Windows 8.1 to Windows 10, your system will save a copy of the entire C drive and it can be quite a few gig in size. We helped a customer regain over 400 gigabytes of space on her system by clearing off windows.old (“Previous windows installations”) files. If you try to delete it from C drive, you’ll find you cannot delete it. Here is a way around that:
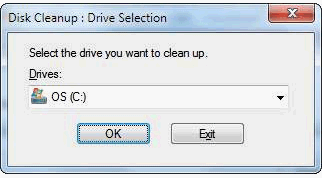
1. Click Windows Key + R to open the Run command
2. Type in cleanmgr.exe and choose to clean up C drive by clicking OK (see screenshot below)
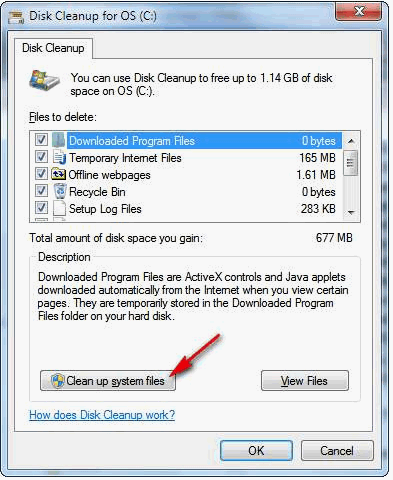
3. When the new Window comes up with list of things to clean, click “clean system files” (see where red arrow is pointing in the screenshot below)
4. Once again choose C drive, and when next window opens, go through list and check all items listed – you should see “Previous Windows installations” listed.
Here are two examples of Previous Windows installations showing in Disk Cleanup dialog. As you can see they can be very large files.


WARNING!
WINDOWS 10 GIVES YOU THE OPTION TO REVERT BACK TO WINDOWS 7 OR WINDOWS 8.1 FOR 30 DAYS AFTER YOU INSTALL IT. IT’S LIKE HAVING A 30-DAY TRIAL. HOWEVER, IF YOU DELETE THE PREVIOUS WINDOWS INSTALLATION, YOU’RE OUT OF LUCK IF YOU WANT TO REVERT BACK TO YOUR PREVIOUS VERSION OF WINDOWS. WE RECOMMEND YOU WAIT 31 DAYS BEFORE YOU REMOVE THE PREVIOUS INSTALLATION.
This tip is for anyone who has upgraded from Windows 7 or Windows 8.1 to Windows 10 and who have used Windows 10 for more than 31 days.
Sale ends December 10, 2015!

Merry Christmas to TC & EB
Regarding removing previous windows installation files.
I can only find ‘temporary’ windows installation files.
Is that the same thing?
Bernie
Nope not the same thing.
Merry Christmas 🙂