

How to Delete Temporary Files in Windows 10 and Windows 11 Using File Explorer
If you’ve ever used Storage Sense (Settings) or Disk Cleanup to remove temporary files, you’ve probably noticed there are still many temporary files remaining after the cleanup.
If you want to clean nearly all your temporary files, try using File Explorer.
1. Important: Save anything you’re working on and close all open programs.
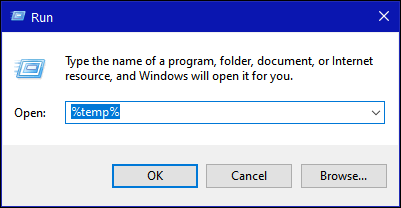
2. Press Windows + R to open a Run box.
3. Type %temp% into the Run box and press “Enter”.
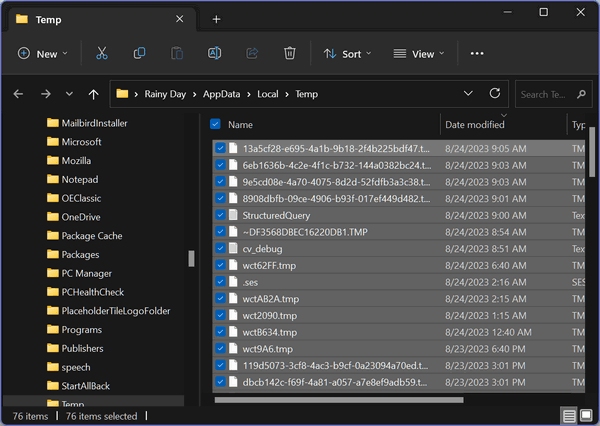
4. A File Explorer window will open with a lot of temporary files and folders. Press Ctrl + A to select all the temporary files at once. When all are selected, right-click and choose “Delete”. IMPORTANT: If you get a warning that certain files can’t be deleted – it’s because they’re in use. If you see this warning, just choose “Skip” to continue.
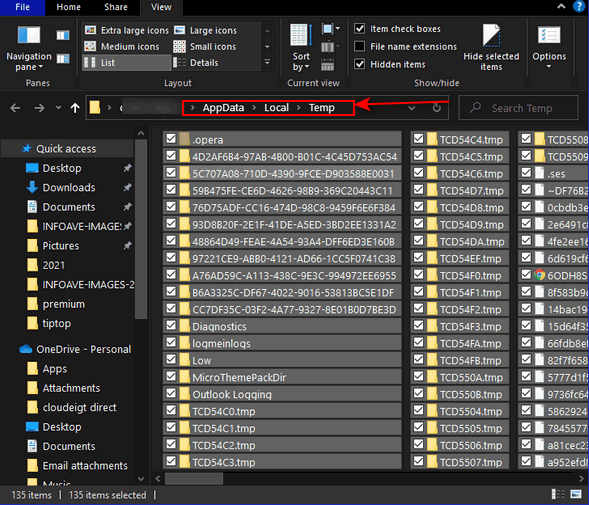
Above: All temp files are selected in Windows 10.
Below: All temp files are selected in Windows 11.
You’re almost done…
5. Right-click the Recycle Bin icon on the desktop and choose “Empty Recycle Bin.”
That’s it. Now you know how to delete almost all of your temporary files using File Explorer. But remember, you can never delete all temporary files because as long as Windows is running, temporary files are constantly being created.