How to Disable Your Laptop Touchpad When You’re Typing [Windows 10]
A Cure for Jumping Cursors
One of the biggest annoyances for laptop users – especially to those who are new to using laptops – is what we call the jumping cursor phenomena. It goes like this… you’re typing an email or other document and the mouse cursor starts jumping to another location or even all the way out of the composition window. It’s caused by what’s known as “Lazy Wrist”. It doesn’t mean you’re lazy, it just means that while you’re typing your wrists sometimes lightly brush against the touchpad which causes the cursor to jump.
Windows 10 offers an easy solution to this problem – and you don’t need to download any 3rd-party software. Windows 10 lets you cure the jumping cursor syndrome by setting the touchpad sensitivity to low. This disables the touchpad but only while you’re typing. As soon as you stop typing the touchpad is re-enabled.
Here’s how to set up your touchpad so it is automatically disabled when you are typing and hopefully cure the old Jumping Cursor Syndrome.
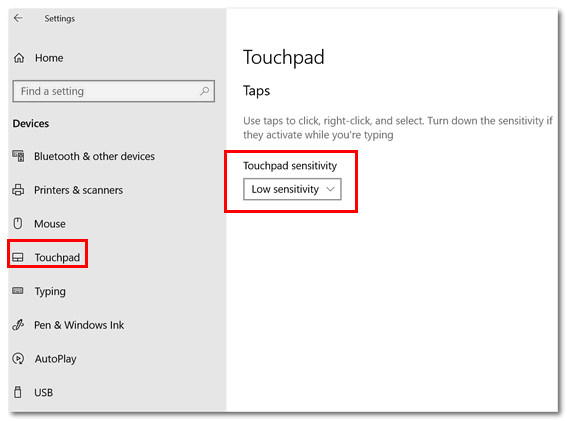
- Press Windows Key + i to open Settings ( you can also right-click on the start button and and choose “Settings”.
- In Settings click on Devices.
- In Devices click on “Touchpad” in the menu on the left.
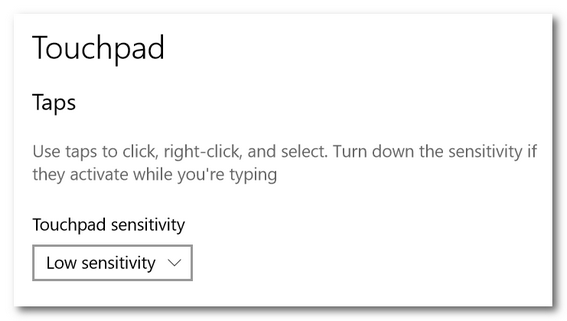
- Under Touchpad sensitivity use the down arrow to select “Low sensitivity”


Once you select “Low sensitivity”, Windows 10 will automatically disable the touchpad while you’re typing. And the touchpad will remain disabled as long as you type. As soon as you stop typing, the touchpad is enabled again.


I just connect an external mouse and disable the touchpad.
HOW do I disable the touch pad for ever. I never use it. Thanks for your help folks.
Arnie in Nova Scotia
Thank you so much. This drives me crazy when I am typing.