One of the best new features in Windows 7 is called XP Mode. But you can only use it on Windows 7 Professional and Windows 7 Ultimate. Too bad. Most users will have Windows 7 Home Premium. But we’re going to show you how you can create a virtual Windows XP mode on your Windows 7 Home Premium computer. And another good thing, you can even run Windows XP on Windows 7 if your processor doesn’t support virtualization – and many lower-end computers do not.
What you’ll need:
1. Free copy of VMware Player (requires free registration)
2. A Windows XP Disk (If you use an XP upgrade disk you’ll also need a Windows 2000 or Windows 98 CD too)
3. About 90 minutes of time
4. A little patience
First, download and install VMware Player from this page. It is a free download, but requires you to register (free). Registration is a bit of overkill; it will take you some time to fill out. After you fill out the form, the download link and registration will be sent to you via email – so make sure you use a real email address ![]() . If you’re a dial-up user, keep in mind the download is 90MB – you should know that it will take you quite a long time to download a file that size. Note: If you see any prompts asking you about installing drivers; just go ahead and approve them. When you’ve finished installing VMware Player, you will need to restart your computer.
. If you’re a dial-up user, keep in mind the download is 90MB – you should know that it will take you quite a long time to download a file that size. Note: If you see any prompts asking you about installing drivers; just go ahead and approve them. When you’ve finished installing VMware Player, you will need to restart your computer.
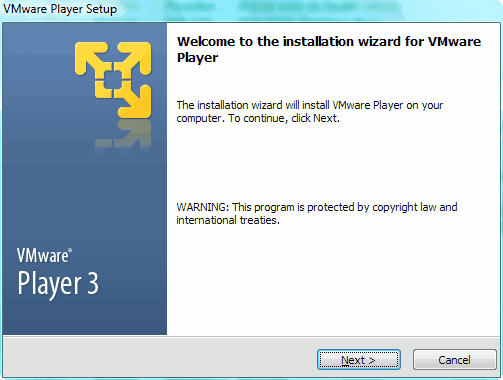
After you’ve installed VMware Player, and you’re computer is rebooted, open VMware and insert your XP disk in your CD/DVD drive.
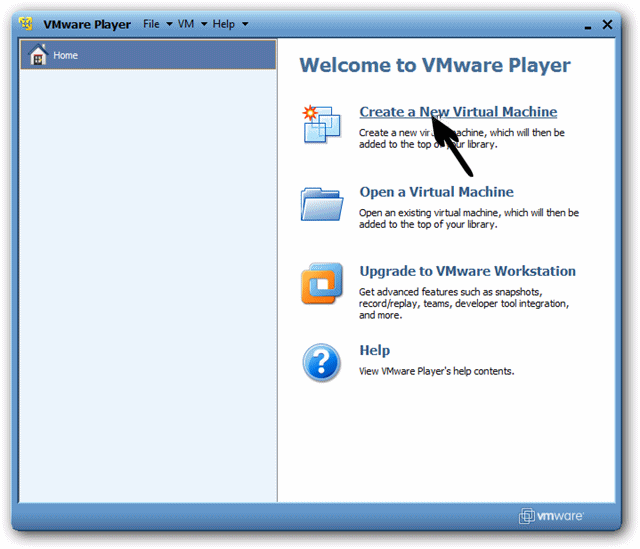
Now click “Create a new virtual machine” (the very top selection). VMware automatically detects your Windows XP CD, and says it will install it with “Easy install”. Easy means easy, you can install Windows XP in 5 or 6 clicks. Just follow the prompts. At one point you’ll need to enter your Windows XP key. If you’re using a Windows XP upgrade disk, make sure you have a Windows 98 or Windows 2000 disk handy – you’ll have to “prove” that you are eligible to use the Windows XP upgrade disk. If you’re using the full retail version of XP you won’t have to worry about digging out a copy of Windows 98 or Windows 2000.
VMware Player will ask you how large you want your virtual hard drive to be (default is 40GB); you can choose a different size if you choose. Keep in mind that the whole 40GB allocated will not be used – Windows XP only uses up about 1.5GB of space – still Windows needs room to run – and every time you use Windows XP you’ll be adding files to it. We’d recommend you use the defaults – both the location of the installation and the disk size allocation.
After you’ve followed all the prompts, you’ll be given a chance to review your choices. If you’re satisfied with them, click “Finish” and the installation of Windows XP will begin. From here on, you don’t have to do anything until Windows XP is installed. So sit back and relax – VMware Player will take it from here.
Once Windows XP is fully installed to the virtual drive, VMware Player will automatically launch the VMware Tools installer to integrate your virtual XP with your Windows 7 computer. You may have to download or update the tools, so if you see the yellow banner at the bottom of your window, click Update Tools or Install Tools depending on your particular environment.
The big advantage of the default XP Mode in Windows 7 is that the XP programs are fully integrated with their Windows 7 counterparts. You can run them seamlessly programs already installed on Windows 7 – you can copy between Windows 7 and Windows XP. You can move files between them and even use the same folders.
You can access any program or file in XP mode through the dedicated XP Mode Start Menu – you can see it by hovering over your Windows 7 Start button, a new button called “Windows XP Mode” will above it. Click there to access the full start menu from XP Mode right inside of Windows 7.
A few more things:
In its default setting, VMware Player will show virtualized windows with a border and the VMware logo on their edge. If you want to remove this logo, click VM in the VMware player window, then settings. Click on the Options tab and choose Unity on the left. Uncheck the boxes that say “Show borders” and “Show badges.”
You can even use USB flash drives and external hard drives in XP mode.
By default, files created in XP in VMware Player will be saved to the virtual machine. But you will find it more convenient if the files are saved directly to the Documents folder in Windows . To change this setting, Click VM, then Settings, then click the Options tab, and choose Shared Folders (on the left). Click the radio button that says “Always enabled”, then be sure to check the box for “Map as a network drive in Windows guests.”
When you first open Windows XP on Windows 7, it will be in a smaller window. To view it normal size, you’ll need to adjust your screen resolution within the VM XP desktop (not in Windows 7).
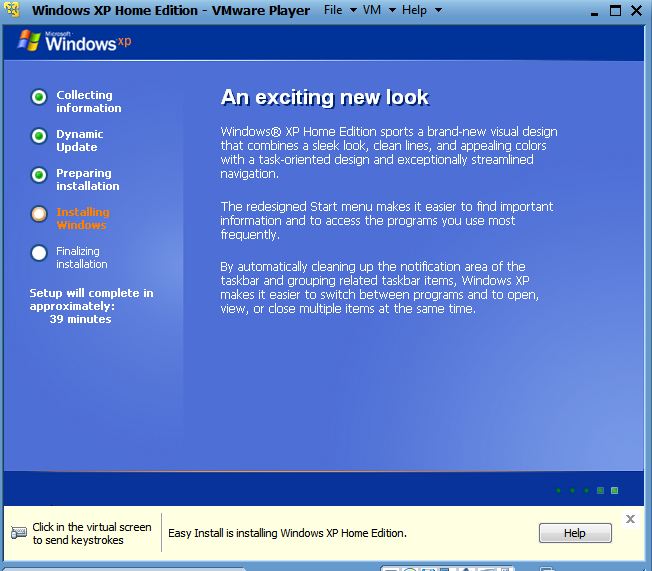
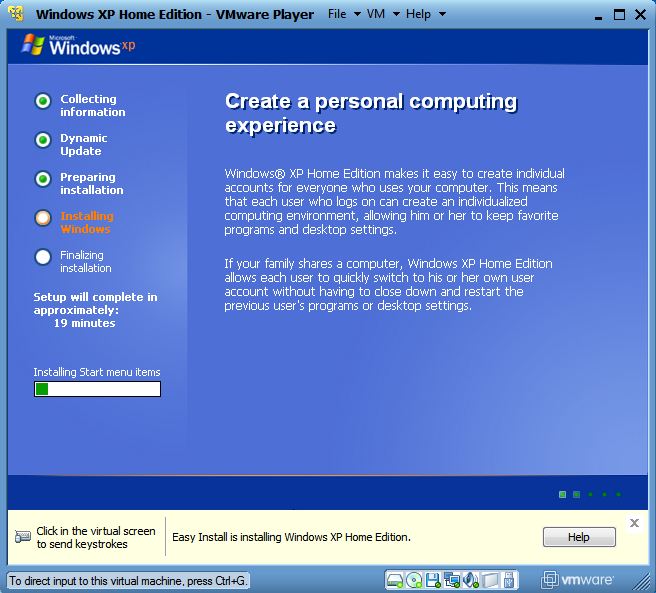
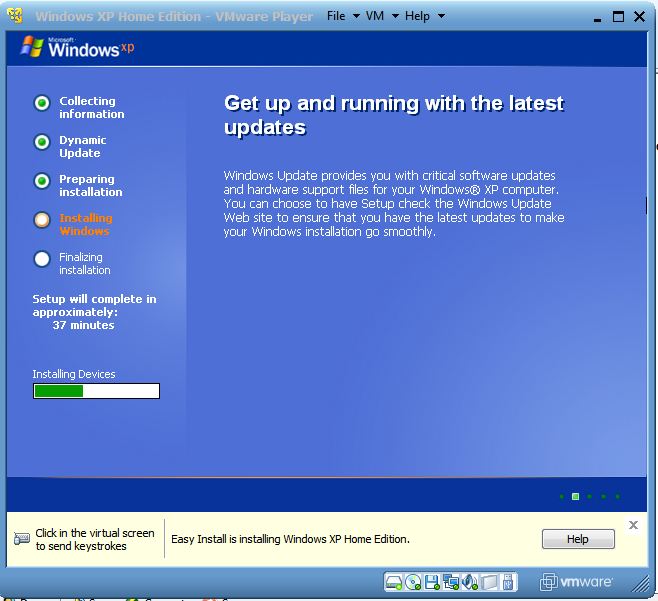
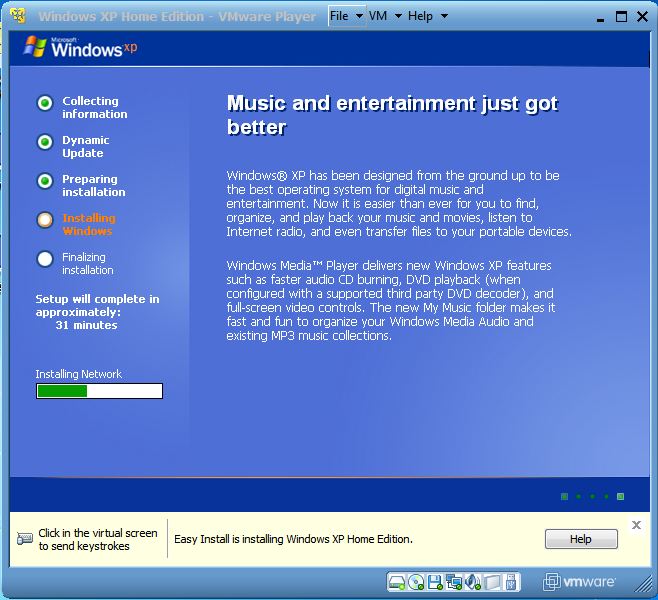
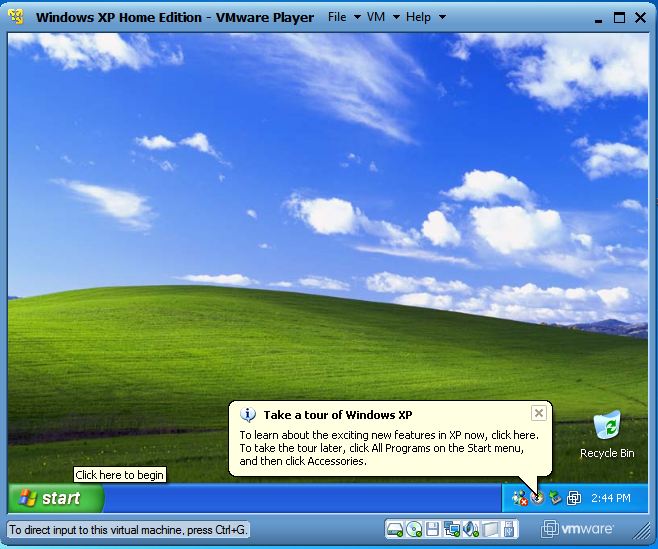
Windows XP running in virtual mode on Windows 7
Have fun. At least you’ll have Outlook Express back!


I hope I really can do this. Someone told me I will have nothing but problems if I try to “go backwards”. I am a new laptop user, being used to XP for years, and have a terrible time with Windows 7 format. But I don’t want to loose it, just in case something goes wrong. How can I be assured that this will really work, when the stores want big bucks to purchase the XP program. Thanks, and love your cloudleight….always have. Oh, by the way, will my stationery work on this? THanx