Organize Your Windows 10 Start Menu the Creators Update Way
This tip is for Windows 10 Creators Update (version 1703)
Windows 10 Creators Update lets you create folders from start menu tiles so you can organize your start menu any way you like.
Here’s my start menu, freshly organized in Windows 10 Creators Update:
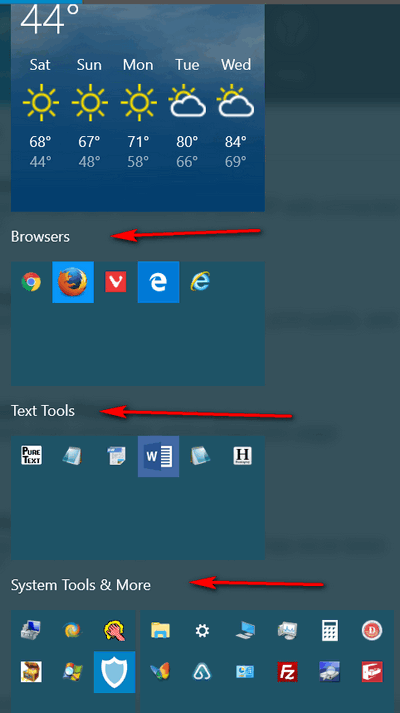
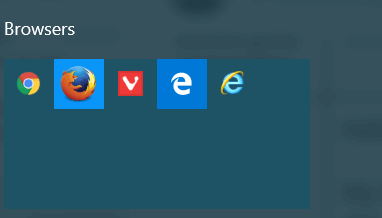
Here’s a close up of the “Browsers” group:
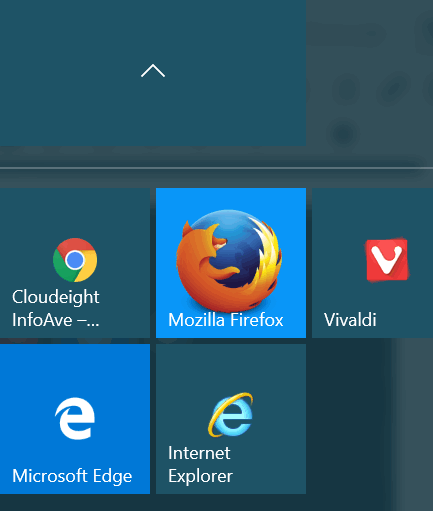
If you click on any one of the browser icons in the group (see above), the browser section will expand as you see below:
You can create and name as many groups as you need.
Here’s how.
First name the group. Click on the double lines (see red arrow below):
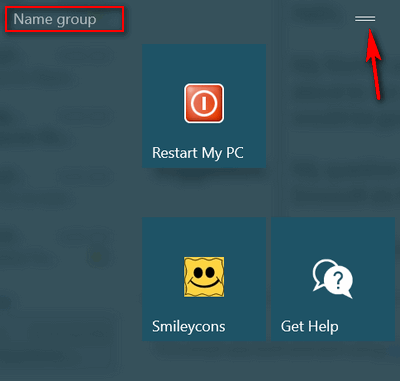
A text area will open, where you can type any name you want for your group or section. I’m going to call my new group “Miscellaneous stuff”.
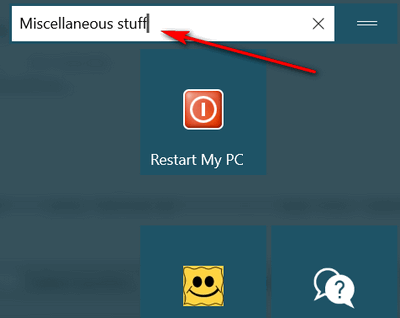
OK now that I have my start menu group named, I can start adding icons to the group. To do this, I just drag and drop one icon over the other.
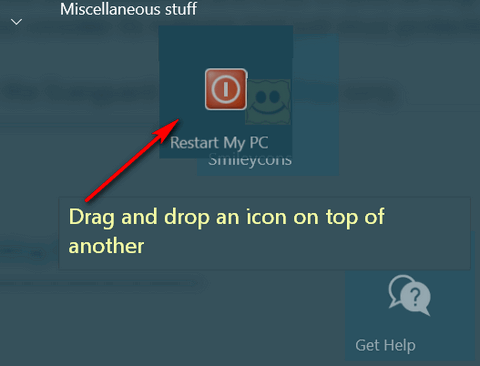
Once I’ve done that icons in the group will appear together as below. To see them as they’ll appear grouped in the start menu, press the up icon.

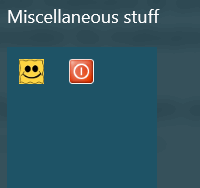
I can do this as many times as I want until all the program icons I want in the group are included. Then I can resize the tile to the size that fits best into my start menu design.
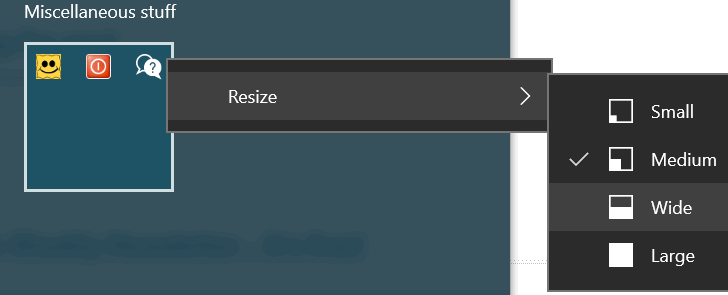
Once you create your groups and add icons, you can add or remove icons from groups or remove groups altogether. It’s easy.
For example: I decided that I wanted to have my printers & related items in my Miscellaneous stuff group. So I renamed the group “Printers & miscellaneous stuff” and dragged the two printer related icons into the group buy dragging and dropping them one at a time over another icon in the group. And there are the two printer related icons and my newly renamed, repopulated group.
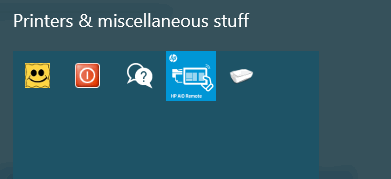
When you get all done you’ll have your start menu organized into groups.
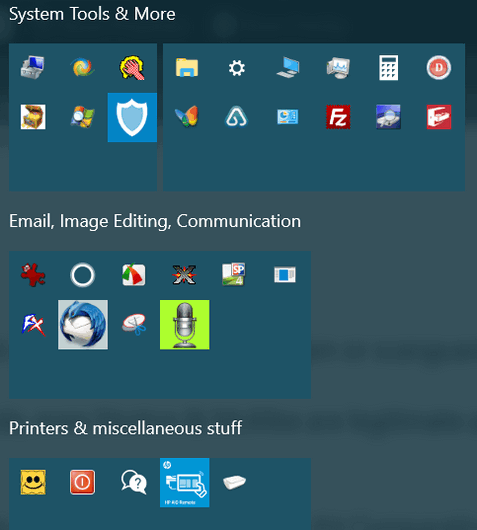
And all you have to do to expand the group is to click on any of the icons in it.
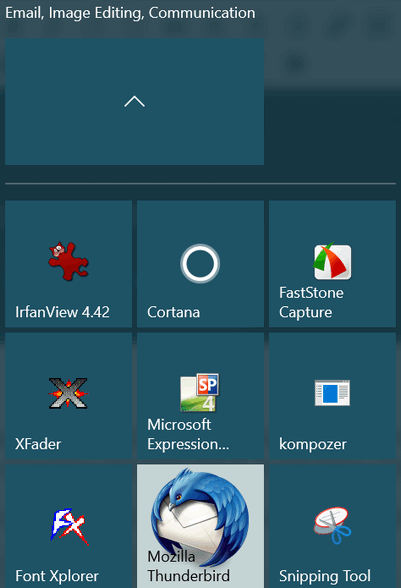
It takes a little practice. When you first start, it sometimes seems like the icons are opposing magnets when you try to drop one on top of another, But stick with it; it only takes a few minutes to get the hang of it. Once you’ll do, you’ll see how easy it is.
I’m not particularly a neat freak or the organizational type. But most people like to have things organized in their own certain individual way. Windows 10 Creators Update really gives you the options you need to make your Start menu reflect your individuality.


Hi 8Ball and TC,
Great tip and I would love to do this, however I don’t see (anywhere) the two horizontal lines you say to click on to get a text box, yes I do have W10 Creators Version. Have looked everywhere – how do you get them to appear, tried right click and left click – naha..searched Settings, Personalizat5ion and dozens more places…
Graham, At first I couldn’t see the two horizontal lines, either. But by accident, my pointer hovered over the area just above the top row of tiles and they appeared! See if hovering works.