Use Settings, Apps & Features to Uninstall Programs and Apps
We usually use Reg Organizer or HiBit Uninstaller when we uninstall programs. But sometimes, when we think the app won’t leave too many traces behind, or we’re just feeling lazy, we uninstall the program the old-fashioned way using Control Panel / Programs / Uninstall a Program.
But sometimes even old dogs can learn new tricks. We were stuck in the rut of using Control Panel to remove programs because we’ve been doing it that way for so many years. Maybe you’re that way too. Anyway, today we had occasion to use Settings > Apps >Apps & features to uninstall a few programs.
If you’ve never used it before, it’s simple – and you can even uninstall some Microsoft Store apps this way as well

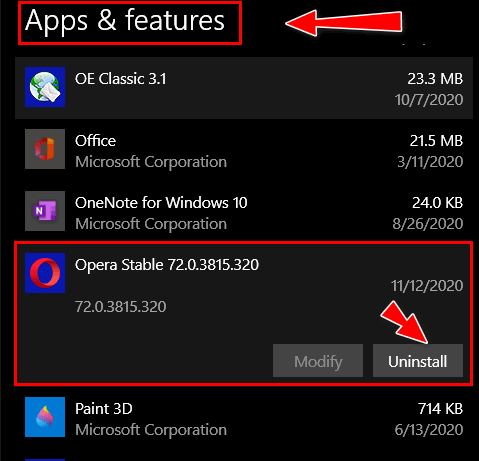
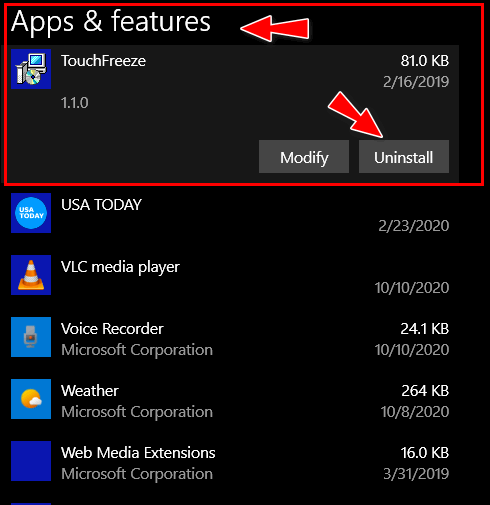
Just click on the app you want to remove and click the Uninstall button when it appears. Simple!

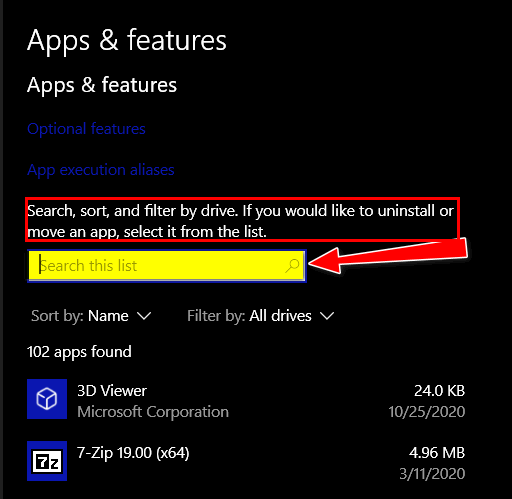
And don’t waste your time scrolling down a lengthy list of programs & apps when looking for the program or app you want to remove… use the search box, we tells ya!

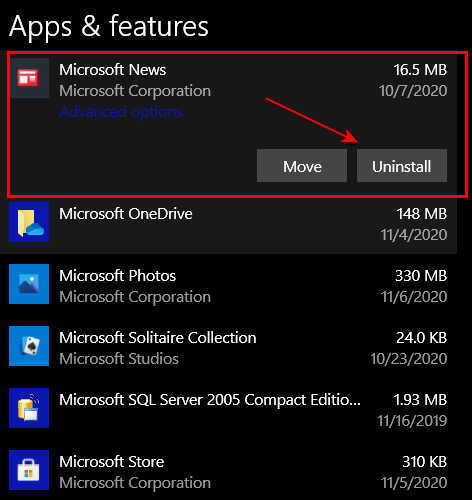
You can also uninstall some (but not all) Microsoft Store apps from Settings > Apps > Apps & features as well.

So, if you normally use Control Panel to uninstall programs, the next time, try using Settings > Apps > Apps & features. Open Settings (right-click on the start button, click “Settings”) then click Apps and choose Apps & features.
And you can also open settings using the Windows key shortcut, Windows key + I.


I usually Geek Uninstaller. Is Reg Organizer or HiBit better?
All are better than the Windows control panel or Apps & features. I mentioned HiBit because it’s free and is a lot more than just an uninstaller… see our HiBit Uninstaller review here.
I can not install and enable Android system service
You computer must meet the requirements in order for you to run WSA.
On Windows 11, the Windows Subsystem for Android (WSA) is simply a virtual machine that offers a way to install and run Android apps as if they were natively installed in the desktop version of Window
To run the Android subsystem for Windows, your PC must meet the following requirements:
Your PC must be running Windows 11. The Android subsystem for Windows is not available on earlier versions of Windows.
Your PC must have a compatible processor that supports virtualization technology. This includes Intel Core processors starting from the 6th generation (Skylake) and newer, as well as select AMD processors.
Your PC must have at least 8GB of RAM and 64GB of storage.
Your PC must have a DirectX 12 compatible GPU with a WDDM 2.9 driver or higher.
Once you have confirmed that your PC meets the requirements, you can enable the Android subsystem for Windows in the Windows Features settings in the Control Panel. If you don’t see the Windows Subsystem for Android option in the Windows Features settings, it could be because your device is not compatible with this feature
If your computer can run WSA, once you turn it on, you can download and install Android apps from the Microsoft Store or Amazon App Store or sideload them from other sources.