Downloading, Installing, Previewing and Using Fonts on Windows 10
Viewing and installing fonts on Windows 10 is huge improvement over previous versions of Windows.
To view the fonts on your Windows 10 computer, type Fonts in taskbar search and press Enter. [ You can also find Fonts in Settings > Personalization > Fonts ]
You’ll see all the fonts on your system displayed exactly as they will appear when you use them.
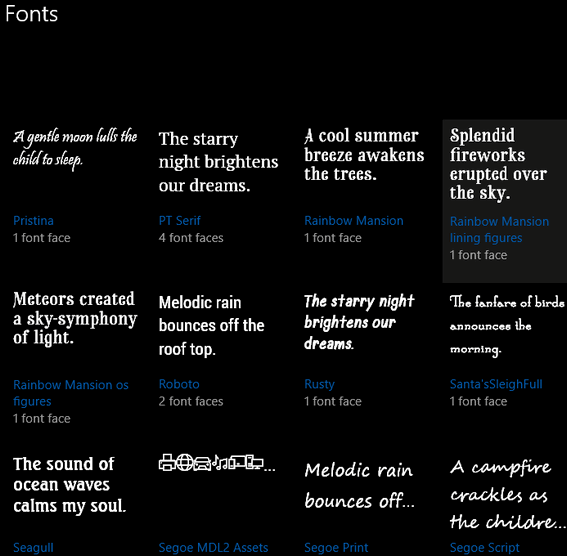
Installing fonts on Windows 10 is a snap. The biggest challenge with fonts on Windows 10 is finding good free fonts from sites that don’t bundle malware with their fonts – or try to trick you into installing driver updates or other garbage.
Here are 3 free fonts sites we tested today (30 November 2018); we found all 3 to be free of trickery.
DaFont
https://www.dafont.com/
Thousands of fonts, easy to download. Fonts come in zip file with nothing insdie but the fonts, and sometime a “readme” text tile and/or a graphic of the font. No malware. No tricks.
Google Fonts
https://fonts.google.com/
Google fonts is a great site. Thousands of fonts. However downloading fonts from Google takes some getting used to. Persevere and you’ll find some great fonts to download from Google – and Google Fonts is one of the only where all fonts are free for home or commercial use.
FontSpace
https://www.fontspace.com/
There’s a very nice search feature on this site to help you find a font by name. Fonts are in zip files. They’re easy to download. All fonts here are free, but most are free for home (personal) use only.
Moving right along. Downloading fonts the hard part… trying to find a good free font site and going through all the great fonts can be time consuming.
Now for the easy part. We downloaded a font in a zip file from DaFont . Unzipped the file and double-clicked on the font file.
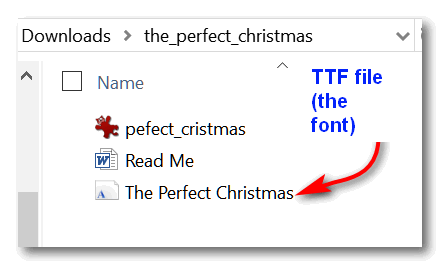
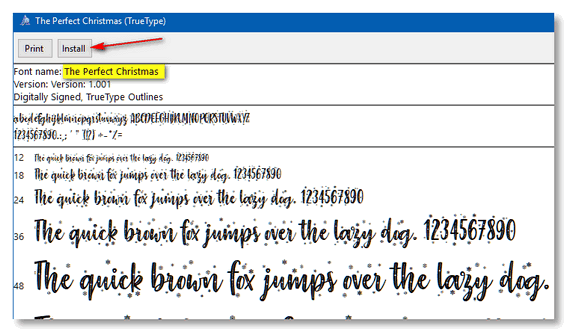
This automatically opens Windows 10 Font Viewer where you can see the font in all its glory. When you’re ready to install the font, just click the “Install” button at the top. (Note: You can also install fonts without previewing them. Just right-click the font and choose “Install” from the right-click menu. )
Want to see what your new font looks like after it’s installed. Easy. Open Windows Font Viewer (type fonts in taskbar search) and press enter. Instead of floundering around in Font Viewer looking the font you just install, use Font Viewer’s search feature to find the font by name. See?
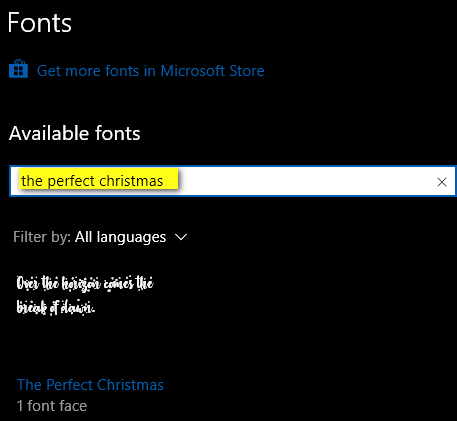
Press Enter and you’ll see your font in Windows Font Viewer. You can see what it looks like by typing a word or sentence in the text box and use the slider to make the font smaller or larger.
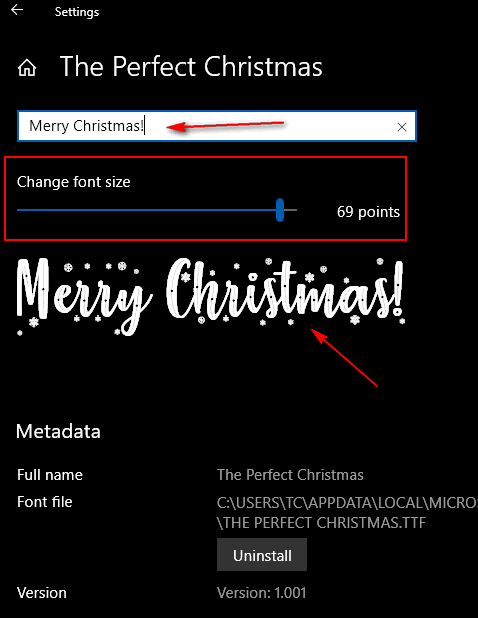
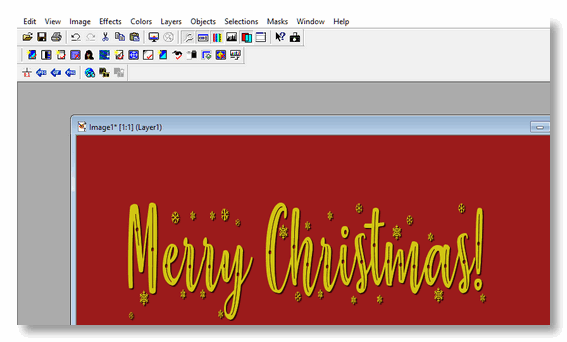
And once you’ve installed your new font, you’re ready to use in any application that allows you to select fonts. Here, I’m using my new “The Perfect Christmas” font in very old version of PaintShop Pro.
Now you know all about downloading, installing, previewing and using fonts on Windows 10.
Have fun!
We’re extending some of our great CyberWeek Specials through Sunday, December 2, 2019. Here they are in a nutshell!
Cloudeight Direct Computer Care Repair Keys Buy One Get & One FREE!
Buy a one-year Emsisoft renewal and get RoboForm Anywhere password manager Free (a $23 value)
Introducing our brand new Cloudeight InfoAve Premium E-book Volume 15! Save 25%
Buy a Cloudeight SeniorPass and Get Our Brand New E-Book FREE!


Am I correct in thinking that whatever fonts (and I love downloading fonts) I download have to be downloaded also by the person you want to send e-mails to, or they don’t see the great fonts you sent in your e-mails??
Generally speaking yes. If you send something written in a special font to someone who does not have that font installed, they will see the font as their default Windows font (usually a sans-serif font like Segoe UI or Arial). There ways to get around this by using font embedding but that’s not something you’d want to do every time you wanted to use a new font. The best way to show a new font you like is to create an image using the font, such as this one:
That is a font called The Perfect Christmas downloaded from http://www.dafont.com